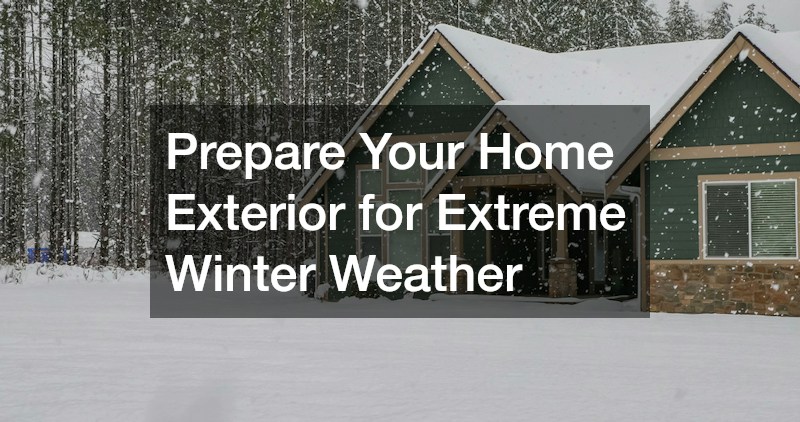

As autumn leaves fall and crisp air settles across the neighborhood, the looming reality of winter approaches fast. While many homeowners eagerly prepare their indoor living spaces with cozy blankets, stocked pantries, and glowing fireplaces, the exterior shell of the home often remains overlooked until the first major winter storm strikes. Your home’s exterior is its primary defense against severe weather conditions. When arctic blasts arrive, bringing heavy snowfall, sub-zero temperatures, freezing rain, and howling winds, any minor vulnerability in your building envelope can quickly transform into a full-scale structural emergency.
Audit the Upper Defenses Against Heavy Snow Loads
The roof bears the heaviest direct burden of winter weather, enduring relentless cycles of heavy snow, ice buildup, and freezing rain. Performing a ground-level assessment in late autumn using high-powered binoculars allows you to inspect shingles without physical risk. Search for warning signs such as curling edges, missing granules, lifted tabs, or cracked flashing around pipe boots and valleys. Addressing minor shingle damage or sealing flashing gaps before winter is vital. Arranging timely roof repairs before the first snowfall prevents melting snowpack from infiltrating the underlayment, which would otherwise cause attic moisture damage, rot ceiling joists, and ruin interior insulation.
Homeowners can perform a visual evaluation by scanning roof valleys, wall intersections, and vent collars from several vantage points in the yard. Pay special attention to areas where step flashing meets vertical sidewalls, as these seams are particularly prone to water intrusion during heavy ice damming. Overhanging tree branches should also be trimmed back at least six feet from the roofline to eliminate the risk of heavy snow loads snapping limbs onto your shingles. Additionally, inspect your attic space internally on a bright day to check for daylight penetration or water staining along rafters.
Navigating a steep slope during late fall requires specialized safety gear, fall-arrest harnesses, and proper footwear to prevent falls on frosted surfaces. Hiring a qualified roofing contractor ensures a comprehensive top-to-bottom structural evaluation of your entire roofing system. Professional technicians possess the experience required to identify subtle structural sagging, hidden underlayment deterioration, and compromised decking that an untrained eye might miss. Certified professionals can safely complete high-risk pitch work, replace deteriorated ridge vents, and reinforce high-wind exposure zones long before severe blizzards create hazardous climbing conditions.
- Inspect all shingles, valleys, and vent boots for visible wear or lifting.
- Trim overhanging tree limbs to prevent snow-laden branches from collapsing.
- Verify balanced attic ventilation to equalize roof deck temperatures.
Optimize Water Routing to Stop Destructive Ice Dams
Your gutter system serves as the primary hydrologic shield for your home exterior, directing thousands of gallons of water away from structural walls and foundation footings. When autumn leaves, pine needles, and organic debris clog your gutters, standing water cannot drain. As winter temperatures plummet, this trapped moisture freezes into solid blocks of ice, creating thick ice dams along the eaves. To prevent catastrophic ice backing up beneath your shingles, you should contact a trusted gutter repair service to realign sagging channels, re-secure loose fascia brackets, and fix minor leaks. Ensuring correct slope pitch allows melted snow to flow freely down downspouts.
Thorough gutter maintenance begins with completely clearing all accumulated organic material and flushing channels with a hose to check for proper drainage velocity. Test each downspout to confirm that water flows freely out the bottom without pooling near the foundation. Loose gutter spikes should be replaced with heavy-duty, screw-in fascia brackets that provide superior holding power against the massive weight of packed snow and ice. Adjusting gutter sections to maintain a continuous pitch ensures that water moves swiftly toward downspouts before it has a chance to freeze.
Standard residential troughs often lack the physical volume required to manage rapid mid-winter thaws or sudden torrential freezing rain events. When existing drainage setups are severely rusted, bent, or fundamentally undersized, investing in a seamless gutter installation provides superior long-term performance. Modern seamless aluminum or copper systems eliminate fragile joint seams where ice expansion typically causes splitting. High-capacity wide channels paired with heavy-duty leaf guards ensure continuous water movement, shielding your home’s foundation, siding, and perimeter walkways from severe water damage throughout the freeze-thaw season.
- Flush gutter channels and downspouts thoroughly to eliminate blockages.
- Re-pitch sagging gutters to ensure continuous slope toward downspouts.
- Extend downspout discharge paths at least five feet from foundation walls.
Fortify Mortar Joints to Prevent Freeze-Thaw Structural Damage
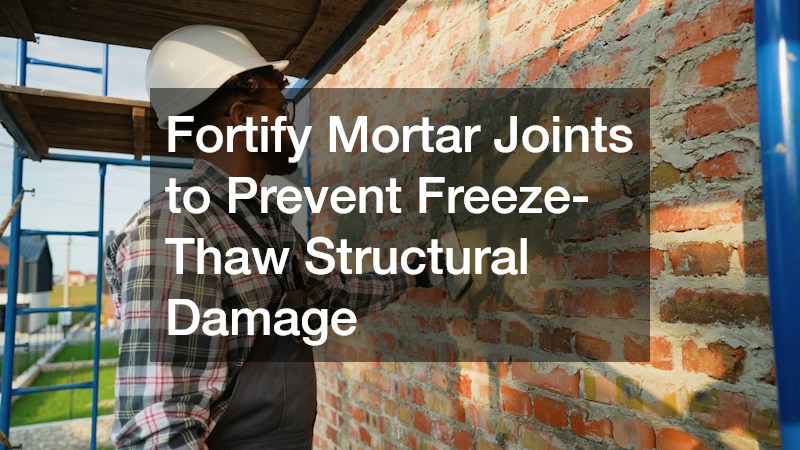
Masonry structures project an image of absolute permanence, yet exterior brickwork is surprisingly vulnerable to extreme winter weather. Because clay bricks and concrete mortar are porous, they absorb ambient humidity and groundwater throughout wet autumn months. When sub-freezing arctic air arrives, trapped water within micro-pores freezes and expands. Over time, this expanding pressure causes the face of the brick to shear off in a destructive process known as spalling. Applying a high-grade, breathable silane-siloxane sealer to your brick masonry creates a hydrophobic barrier that repels liquid water while allowing internal moisture vapor to escape harmlessly.
Prior to applying any protective surface treatment, exterior brick walls should be cleaned using low-pressure water to remove dirt, efflorescence, and organic growth. Pay close attention to lower brick courses near ground level, where melting snowbanks pile up, and sub-zero slush sits directly against the wall base. A deep-penetrating silane-siloxane water repellent should be applied when ambient temperatures remain consistently above fifty degrees Fahrenheit to ensure proper chemical bonding. Additionally, clear out all weep holes located along base courses to ensure trapped moisture within the wall cavity can drain freely.
Cracked, crumbling, or missing mortar joints represent open entry points for moisture infiltration during winter storms. When water enters behind brick veneer, freezing expansion can separate the brick structure from interior framing. Scheduling professional masonry repairs before winter sets in allows experienced masons to perform precise tuckpointing. By grinding out deteriorated mortar to a uniform depth and applying fresh, weather-resistant mortar matched to existing strength, masons restore both structural integrity and moisture resistance. This critical preventive step prevents costly structural wall rebuilds after the winter season ends.
- Wash brick surfaces and clear weep holes to ensure proper moisture drainage.
- Tuckpoint crumbling mortar joints with weather-resistant matching mortar.
- Apply a breathable silane-siloxane sealer to repel freezing surface water.
Secure Heating Exhaust Systems Before Lighting the First Fire
Your home’s heating exhaust systems undergo intense operational stress during extreme winter weather. Fireplaces, wood stoves, and high-efficiency gas furnaces rely on clean, unobstructed chimneys and flues to exhaust toxic gases safely outdoors. Over summer and autumn, birds, squirrels, and insects frequently nest inside chimney caps, while soot and creosote build up along inner walls. Booking a professional chimney cleaning ensures that all interior flues are completely clear of combustible deposits and blockages before your family lights the first fire of the season. Removing creosote accumulation eliminates dangerous chimney fire hazards and prevents deadly carbon monoxide from backing up into living spaces.
An annual chimney service includes a mechanical sweeping to scrub away sticky, highly flammable creosote glaze from flue tiles. Technicians will also inspect the spark arrestor mesh screen on top of the chimney cap to clear away accumulated leaves and pine needles. Before lighting your first fire, test the fireplace damper mechanism to verify that it opens smoothly for operation and seals tightly when closed to prevent precious indoor heat from escaping up the flue. Always install fresh batteries in carbon monoxide detectors on every level of your home, and clear rugs away from the hearth.
Exterior masonry chimneys exposed above the roofline endure the full brunt of freezing winds and driving snow. Over time, the top concrete chimney crown develops hairline thermal cracks that allow rainwater to seep down between the brick wall and clay flue liner. During deep winter freezes, trapped water expands, cracking structural bricks and destabilizing the chimney stack. Booking a professional chimney repair service before winter arrives allows technicians to apply elastomeric crown sealants, replace cracked flue tiles, and rebuild damaged brick courses. Fortifying the chimney structure ensures safe furnace ventilation and prevents costly structural collapses during winter storms.
- Sweep flue liners to eliminate creosote deposits and obstruction risks.
- Seal concrete chimney crowns with flexible elastomeric waterproof coatings.
- Check flashing seals around the chimney base to prevent roof leaks.
Seal Building Envelopes and Protect Specialty Exterior Finishes

A winter-ready building envelope must resist driving winter winds while locking warmth inside your home. Exterior siding acts as a primary windbreak, shielding structural sheathing and insulation from freezing moisture. Loose, cracked, or warped siding panels allow cold air drafts to enter wall cavities, driving up monthly heating expenses and creating cold spots inside rooms. Partnering with an experienced vinyl siding company allows homeowners to replace damaged sections, secure loose trim boards, and install insulated backing sheets. Correctly fitted interlocking siding prevents winter wind uplift from ripping panels away during severe blizzards.
To prepare your siding for winter winds, perform a perimeter walk, gently pressing against individual panels to locate loose points that require refastening. Inspect corner posts, J-channels, and window casings for cracked or missing caulk beads, applying exterior-grade polyurethane sealant wherever gaps are found. Maintain at least six inches of clearance between the bottom edge of your siding and soil or snowpack level to prevent ice contact and moisture wicking. Replacing missing or damaged foam insulation board behind siding panels further fortifies your home’s thermal resistance.
Specialty roofing materials like natural slate require unique care when preparing for extreme winter conditions. Slate tiles offer unmatched durability and beauty, yet individual slates can become brittle over time and crack under severe frost or heavy snow weight. Never attempt to walk on a slate roof yourself during late autumn, as improper foot placement can shatter fragile tiles. Hiring experienced slate roofers guarantees that specialized techniques, copper nails, and slater’s hooks are used to replace broken tiles and solder copper flashing. Proper maintenance ensures your slate roof continues providing superior protection against heavy winter ice loads for generations.
- Fasten loose siding panels and seal window frame perimeters with exterior caulk.
- Replace cracked or delaminated slate tiles using specialized copper fasteners.
- Install heavy-duty snow guards on slate roofs to prevent sudden snow slides.
Protect Exterior Plumbing and Irrigation Systems from Freezing
Water expansion inside exterior pipes is one of the most common and costly winter emergencies. Before the first hard freeze arrives, homeowners must proactively disconnect all garden hoses from exterior spigots. Leaving a hose attached traps water inside the fixture, allowing ice to form and burst the pipe deep inside exterior walls. After disconnecting hoses, shut off interior supply valves leading to outdoor faucets and open exterior bibs to drain residual water from the line.
Inground irrigation systems require rigorous preparation to survive sub-zero conditions intact. Residual water left in shallow underground pipes or sprinkler heads will freeze and shatter plastic casings. Hiring a professional landscaper to blow out irrigation zones with an air compressor guarantees lines are clear of moisture. Wrap exposed supply pipes in unheated garages or crawlspaces with heavy-duty foam insulation sleeves to prevent localized freezing during severe cold snaps.
- Disconnect and drain all garden hoses before night-time temperatures drop to freezing.
- Shut off interior valves leading to outdoor spigots and drain residual water.
- Use pressurized air to clear all inground sprinkler lines of lingering moisture.
Reinforce Window and Door Seals Against Arctic Drafts

Windows and exterior doors represent significant breaks in your home’s thermal envelope, making them prime targets for heat loss. Over time, constant shifting of your home’s framing and extreme temperature fluctuations cause window caulking to dry out, crack, and pull away from glass. Stripping away deteriorated exterior caulk and applying a fresh bead of silicone sealant around window perimeters stops arctic winds from infiltrating living spaces. Inspecting and replacing worn weatherstripping around door frames ensures a tight seal that locks warm air inside.
Installing dedicated storm doors and verifying double-pane window seals provides a critical secondary barrier against extreme winter weather. If you notice persistent condensation or fogging trapped between glass panes, the insulating gas seal has failed, providing minimal thermal resistance. For older homes with single-pane windows, mounting exterior storm windows creates a vital dead-air space that significantly reduces thermal transfer. Securing these entryways lowers energy consumption and eliminates uncomfortable drafts near seating areas.
- Replace cracked exterior caulk around window casings with flexible silicone sealant.
- Install weatherstripping around door frames to block cold drafts.
- Mount storm windows and verify that existing double-pane glass is free of internal condensation.
Delaying maintenance until winter arrives often leads to emergency service calls, higher contractor costs, and preventable interior water damage. Taking time to inspect your roof, clean and align your gutters, seal porous masonry, service chimney exhaust flues, and secure siding ensures your home remains protected. Armed with a fully fortified exterior, you can face the winter months with complete peace of mind, knowing your home is safe and warm inside.